Trade entry: from the trigger close to a defined risk
How a planned entry works for new traders: wait for the trigger close, find the entry, place the stop, read R, and size the position.
This is the sixth lesson in the series. It assumes no trading experience.
Also called optimal trade entry or the golden pocket (the entry band) in other trading material.
A setup shows where the market may turn. A plan adds what a setup lacks: where you would get in, where you would admit you are wrong, where you would take profit, and how much you would put at risk. FMP+ frames these levels on the chart. It never tells anyone to buy or sell, and every decision stays yours.
The examples below are bullish. A bearish plan is the mirror image.
Wait for the trigger close
Start with direction. The daily bias lesson covers it. Then comes a sweep and a close back inside. None of that is a plan yet.
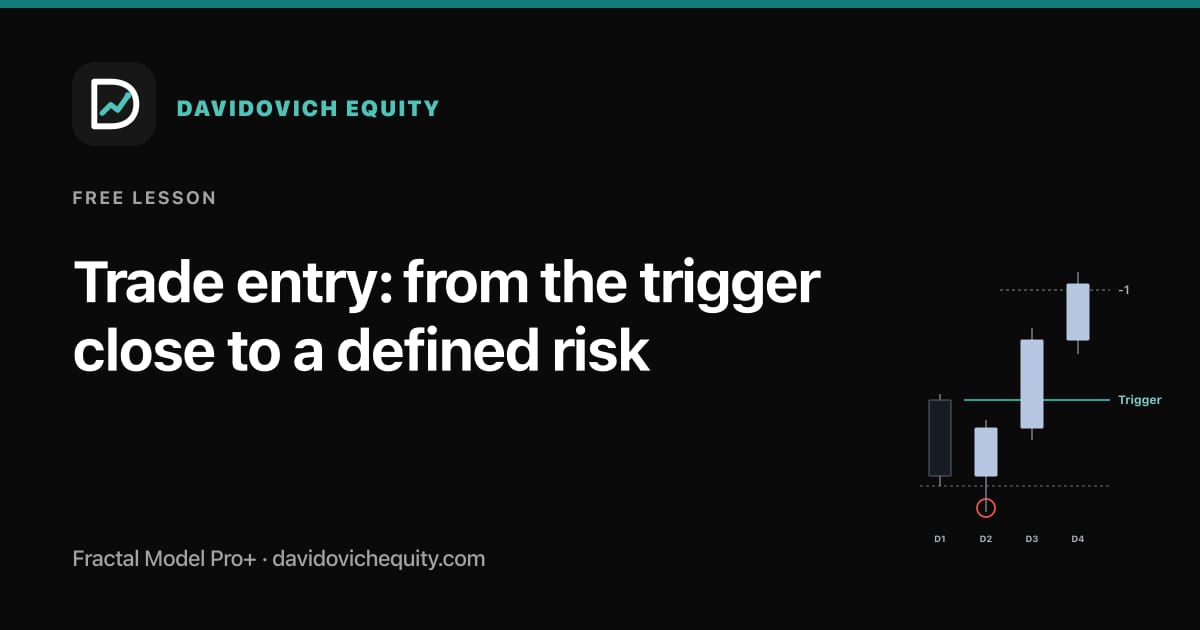
The plan starts when the chart timeframe confirms with a trigger close: a candle body closes through the trigger line. A wick through the line does not count. The full definition is in The trigger close.
The trigger close
The first body close through the run open confirms.
A bullish example marks the open of the last bearish run and distinguishes a wick probe from a completed close.
The trigger close is the first chart-timeframe body close through the run open. A wick through the level stays pending. The trigger close does not replace model-timeframe structure or location.
- Bearish run
- Trigger line
- Wick only / pending
- Body close / confirmed
The trigger close must land by the close of the D3 window, the model candle after the sweep candle. A later close is too late, and the candidate expires.
Where an entry can come from
After a confirmed D2 Sweep, FMP+ draws the D2 block. It marks the places price may pull back to. The plan fills at the first one price reaches:
- The entry band. The 0.62 to 0.79 retracement of the leg. The leg runs from the sweep extreme (the end of the sweep wick) to the furthest price since confirmation. The line at 0.705 is the entry. The band follows the leg until price first trades into it.
- A gap midpoint. A gap is three chart bars whose outer wicks do not overlap. Its midpoint counts only when it sits in the half of the leg nearer the stop. A gap in the other half is shaded but is never an entry.
- A pivot close. A pivot is the latest swing low the move depends on, marked with a small dot. If neither zone has been reached, a confirmed close that protects a new pivot in that same half fills the plan at that close. The stop then moves to the pivot.
The first one reached counts.
You can also act on the confirmation itself. That gets you in sooner, but the entry sits farther from the stop, so each contract risks more. A pullback entry sits closer to the stop, but price may never come back.
Entry plan
Confirmation first, then a defined risk.
A bullish example: the trigger close confirms, the entry band sits at the 0.62 to 0.79 retracement of the leg, the stop sits at the sweep extreme, and the first target is above.
The entry band is where the plan looks for a pullback, with its entry line at 0.705. The stop goes where the idea is wrong. Size the position so a stop-out is a loss you accept.
- Trigger close
- Entry band, 0.62 to 0.79
- Stop at the sweep extreme
- First target
The stop
The stop goes at the sweep extreme. If price trades back to it, the sweep did not hold and the idea is wrong. Place it before you enter, because it fixes the most the trade can cost.
A stop order can fill past its price in fast markets, so the real loss can be larger than planned.
The target
FMP+ draws projections, which are levels measured from the leg and drawn on the side away from the stop. In a bullish example they sit above price. The first target is the first projection price has not yet traded to.
What R means
R is reward divided by risk. Risk is the distance from the entry to the stop. Reward is the distance from the entry to the target.
An illustrative example, with made-up numbers and no real chart: the entry is 7,600, the stop is 7,590, and the target is 7,630. Risk is 10 points. Reward is 30 points. 30 divided by 10 is 3R.
Each possible entry has its own R, because a different entry changes the risk. Before a fill, the tag shows each one, for example gap 1.1R · band 4.7R. A high R does not make a plan likely to work. It compares two distances and nothing else.
Size the position
Position size is how much you trade. Decide the loss you accept first, then work backward.
An illustrative example: you accept a $200 loss. The stop is 10 points away and each point is worth $5 per contract. One contract risks $50, so $200 divided by $50 gives four contracts. Check the point value of the contract you trade.
If one contract already risks more than you accept, the answer is a smaller contract or no trade. Sizing this way keeps a stop-out to a loss you accept.
When the plan is missed
If the target trades before any entry fills, the plan is missed. FMP+ freezes it in gray, because the move happened without a fill.
Do not chase it. A later entry keeps the same stop but leaves less room to the target, so its R is smaller. Wait for the next plan.
How FMP+ uses this
FMP+ draws the entry band, the shaded gap, the pivot dot, the stop, the target, and an R tag. Hover the tag to see the entries, stop, and target prices. After the D3 window closes, the D3 block frames a second plan for the D4 leg.
The planner frames a plan and issues no order. Its alerts, such as Bullish D2 block 1.6R · retest (15m/4H), carry no buy or sell wording.
Checklist
- Did a chart-timeframe candle body close through the trigger line?
- Where are the entry band and any gap in the half nearer the stop?
- Where is the stop, and what is the most it can cost?
- What is the first target, and what is R for each entry?
- Does the position size keep a stop-out to a loss you accept?
- Did the target already trade before any fill?
FAQ
Do I have to wait for a pullback?
No. Some traders act at the trigger close. The cost is a larger stop distance for the same target. Waiting has its own cost: price may never pull back, and then the plan is missed.
Does "stopped" mean the setup failed?
Not always. The planner shows a plan as stopped when price touches the stop, because a real stop order would fill there. The setup itself is invalid only after a chart-timeframe candle closes at or beyond the sweep extreme.
Which R do I use when the tag shows two?
The one for the entry you would take. Each entry has its own risk, so each has its own R.
Next lesson: A top-down Fractal Model chart review process
This lesson is education, not financial advice. Trading futures involves substantial risk of loss.
The product behind the lesson
See this on your own chart with Fractal Model Pro+.
Fractal Model Pro+ is the TradingView indicator that marks the sweep, the close back inside, the trigger close, and the D1 to D4 map for your chart and model timeframes, in the same reading order this lesson follows. Access is invite-only and tied to your TradingView username. It is educational software: it places no trades and makes no outcome claims.
Free primer by email
Get the 13-page primer and the next lesson.
The beginner primer arrives right away. After that you get one email per new research lesson, plus Fractal Model Pro+ product updates. Written material only.
Lessons and product updates only. No trade signals, no performance or results claims. Unsubscribe from any email. How we handle your data.